The photos and text below explain how I brew beer at home. The photos are gathered together from beers brewed at different times. I Start by filling my Burco boiler with the amount of water required for the mash (usually about 9 litres). To that I add one quarter of a Capmden tablet – this is to neutralise any Chlorine and/or Chloramine that is present in the water. While the mash water is heating, I prepare the grain that I am going to mash. The photo below shows the grain used for a Stout recipe. The wok contains the pale malt and the bowel contains the rolled oats and the roasted barley.

When the water in the Burco is up to the required temperature (usually about 10 degrees higher than the wanted mash temperature to allow for the cooling effect of the grain and cold mash tun), I run the water into the mash tun. The mash tun I use is a converted coolbox – The insulation helps to keep the mash temperature stable during the mash period.

Once the water is in the tun, I stir in the grains (grist) being careful to add the grain slowly so as not to form dry clumps. Once all the grain has been added, it is given a final good stir to ensure there are minimal air pockets.

Once the mash is stirred, I check the temperature and adjust it if required by stirring in cold or boiling water. The lid is then placed on the tun and it is left for the mash period (often 90 minutes). In cold weather, I sometimes place a blanket around the tun to help to keep the temperature stable.
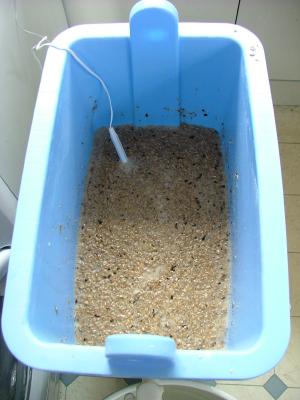
While the mash is mashing, I fill my Burco boiler with the amount of water required for sparging and treat it with another quarter of a Campden tablet to remove the Chlorine and/or Chloramine. That is left to heat while the mash progresses. After the mash period, the mash is sparged – this basically means that hot water is sprinkled over the top of the grains in order to wash out the sugars that have been released from the grains.
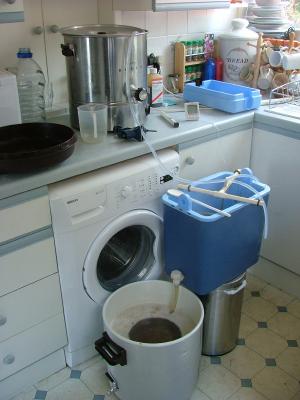
The water is sprinkled evenly over the grain bed using a spinning sparge arm device. As the sparge water flows through the sparge arm under the force of gravity, it causes the sparge arm to rotate. A constriction in the feed pipe is necessary in order to ensure that the sparge arm does not spin too fast as otherwise the water just hits and runs down the sides of the tun missing the grain altogether and giving poor extraction efficiency. Click on the photo below to watch a short clip of the sparge arm in action.
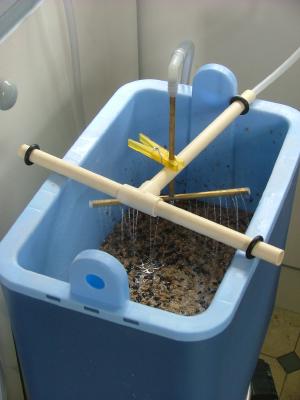
While water is sprinkled on the top, wort (pronounced wurt) is allowed to run out of the tap at the bottom of the tun – the aim being to adjust the flow so that the level of water in the tun is just below the surface of the grain bed. The photo below shows the wort running into the boiler.

As soon as the boiler element (not visible in this boiler) is covered in wort, it is turned on so that it can heat the wort while sparging continues. Once sparging is complete (usually about 30 to 45 minutes), the wort is left to reach boiling point. It is usually boiled for about 90 minutes. Boiling for this period has two effects: it extracts bitterness from the hops and it encourages the protein in the wort to clump together and settle out of solution (called hot break) leading to a clearer beer. Click on the photo below to see a short clip of the boil in action.
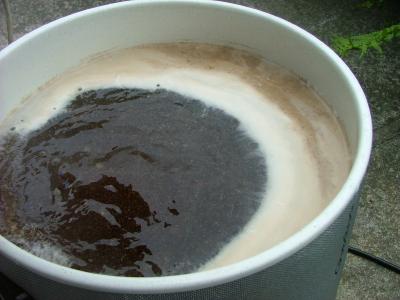
At some point during the boiling period, the required bittering hops are added. Prolonged boiling extracts the bitterness that we like.
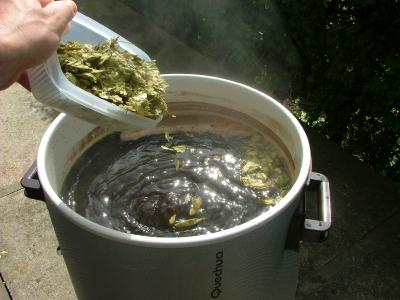
Once the boiling period is complete, we switch off the boiler element and leave the wort to stand for about 10 minutes to allow the trub and spent hops to settle at the bottom. Some recipes call for the addition of more hops during the settling period as a short steep in hot wort will help to release hop aroma components while not adding significantly to the bitterness.
Ideally the boiled wort should be cooled as quickly as possible to encourage more protein to drop out of solution (called cold break) and also to enable us to pitch the yeast as soon as possible to reduce the risk of infection.
I use a home made counter flow chilling coil. The hot wort is fed into the top of a long coil of copper tube while cold water is fed into the bottom end of another tube (garden hose) which surrounds the copper tube. The heat from the hot wort is transferred to the cold water and by the time the wort runs out of the bottom of the copper tube it has reduced to the temperature we require (around 20C is good).
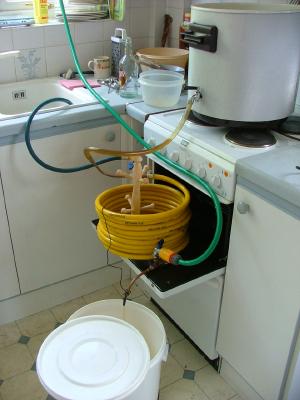
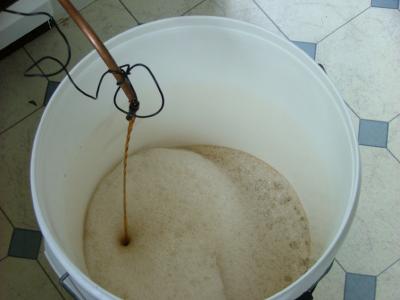
During the boiling period, a lot of the oxygen in the wort has been lost due to the boiling action and we need to replenish this as the yeast need oxygen initially to reproduce. The simplest way to do this is to allow the wort leaving the CFC coil to splash vigorously into the fermentation vessel. The splashing causes oxygen from the surrounding air to dissolve back into the wort.
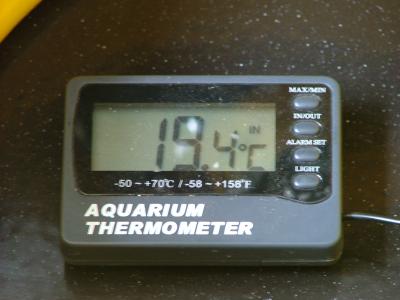
I monitor the temperature of the wort as it leaves the CFC coil in order to adjust the flow rate of the cooling water and ensure I get about 20C.
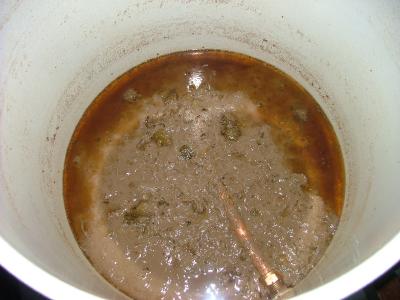
The photo below shows the inside of the boiler while it is draining. The sticky trub can clearly be seen at the bottom.
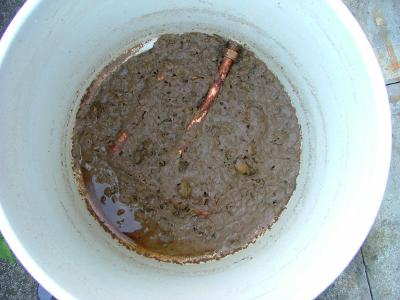
The photo below shows the boiler once drained. The hop parts can be seen at the bottom – these help to form a filter that holds back the sticky trub as the boiler is drained.
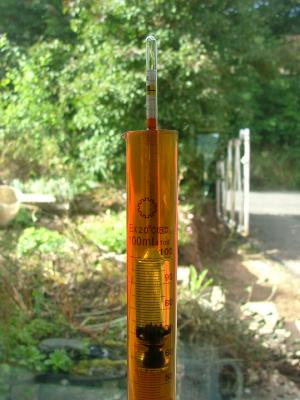
Once the wort has been collected in the fermentation vessel, I take a reading of the specific gravity. This allows me to work out the potential strength of the finished beer and also to determine how efficiently I have extracted the sugars from the grains.
The final job is to add the yeast. The photo below shows a yeast starter culture made up in a milk bottle. It is not always necessary to make a yeast starter, sometimes simply sprinkling the yeast on top of the wort is adequate.

The fermentation vessel is placed somewhere warm (ideally about 20C) for around a week until fermentation is complete. The beer is then transferred (racked) to a keg for maturation and serving.
Two problems with this:Firstly, with the lid off your bukcet, and you standing over it, you risk dust falling in and infecting. But I’m sure you know that.Secondly, the proteins that create a stable head only work once. All that frothing denatures those proteins and leads to poor retention in the final product. Buy a O2 tank ($5) and a diffusion stone ($10) and you’ll save a lot of time and see improvements in your beer.Keep brewing!
Thanks Tom. I have not previously heard that the splashing action can denature head forming proteins. Can you please point me to some published literature on the subject so I can read further into it 🙂
You can read about the protein/head retention it in this book:
http://www.howtobrew.com/
I’ve got to say though that I’ve never heard of anyone falling in their bucket and although I haven’t tried I am sure I would not fit in mine.
Thanks Brian. I have read John Palmer (as well as others) before and while Palmer does talk about head retention, there is no mention as far as I can see about proteins being denatured by the splashing action during wort aeration as Tom suggests. At this point I have found no peer-reviewed literature to support Tom’s claim :-s